
With the release of vSphere 6, VMware has introduced CLI install of PSC and VCSA for all types of architecture designs like Embedded PSC, External PSC install and good thing is you can also migrate the existing Windows based instances of PSC and vCenter to Appliances. In this post i will first try a green field install of Appliances using CLI and next work on the migration, i believe its almost similar.
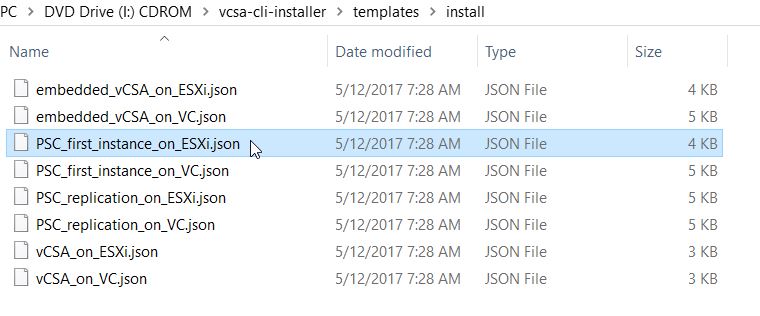
VCSA installer ISO has a set of predefined templates for everyone’s architecture to help with PSC install or migration to appliance. To be able to install a vCenter Appliance with an External PSC, like with any other topology, you first have to install PSC so choose the json file PSC_first_instance_on_ESXi.json from the templates folder in ISO.
Note: Ensure you have created the necessary DNS records for the name and IP resolution of the PSC and VSCA appliances
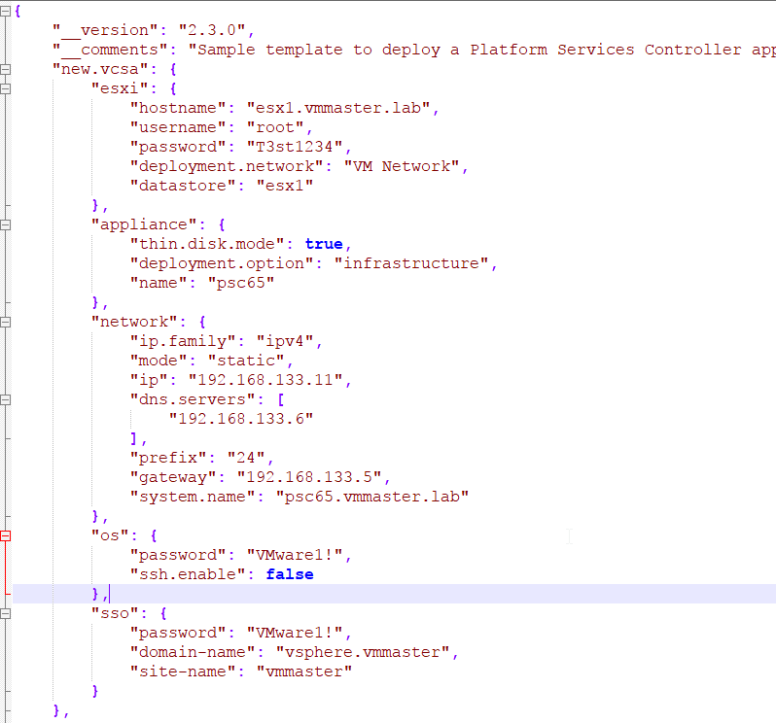
Modify the json file with a IDE and fill in all the details needed. Below is a sample of the modified file for my lab environment.
Once saved, use a Powershell or cmd to navigate to the mounted ISO, from there run the below commands by pointing the modified json file. In my case, i saved the json file on my Desktop.
Use the switch –verify-only to perform validation of the given parameters.
.\vcsa-deploy.exe install --accept-eula --verify-only --no-esx-ssl-verify <path to json file>

You should see the installer perform validations as below.

Once all the validations are successfull, remove the verify-only switch and run the command again to perform the actual deploy.

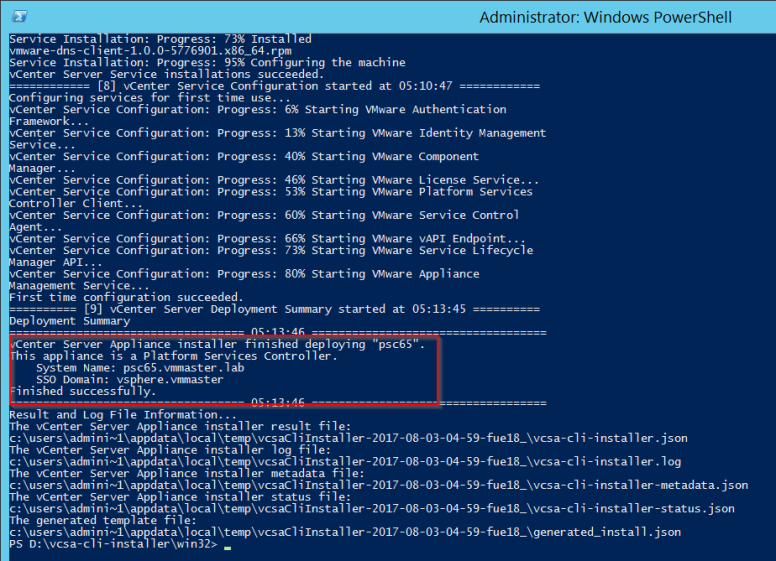
Similar to the GUI install, CLI also performs the install in two steps, deploys the OVF and then configures with the settings in json file. Ensure you receive a successfull deployed message.
Now its time to deploy the VCSA appliance. To do that we make use of the json file vCSA_on_ESXi.json, edit the json file as per the network requirements. Similar to the PSC deploy, run the below command to install the VCSA after doing a –verify-only
.\vcsa-deploy.exe install --accept-eula --no-esx-ssl-verify <path to json file>

Make sure you see the below message, indicating the successful install of vCSA

Once the Applianes are installed you should be able to verify the sae by logging into the web-client or the HTML 5 client, now called as vSphere Client
